Adding Groups
To grant access to group spaces and assign permission-based roles to users within a group, it is recommended to first create the user group and then assign permissions to the group as a whole, rather than assigning permissions to each user of the group first. Furthermore, it is easier to maintain and keep track of permissions on groups of users instead of on an individual basis. The benefits are:
- Create one group and assign it to multiple group spaces.
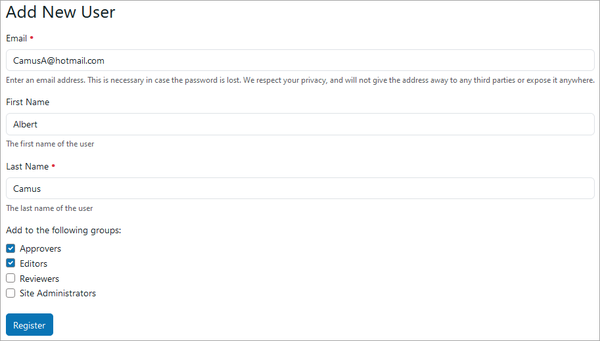
- When adding new users to a portal, there is a shortcut to add them to available groups on the user registration form.
In this way, site-wide permissions can be updated based on the addition or removal of individuals from a group.
Four Default Groups
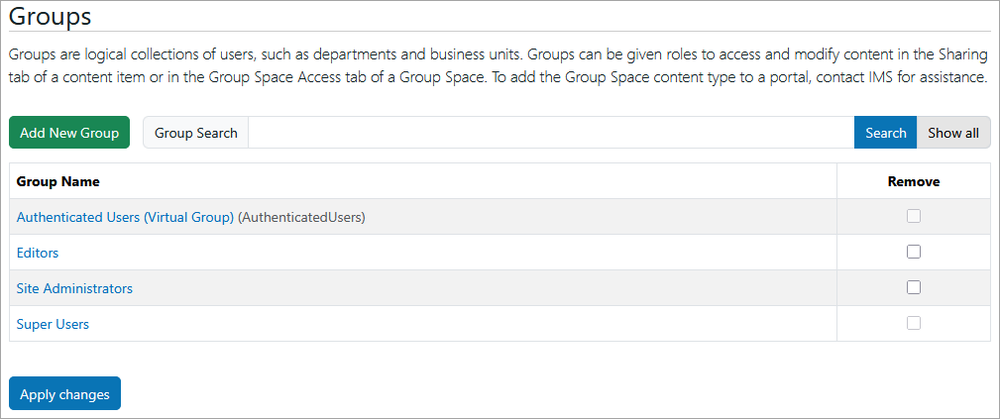
All portals come with four default groups.
- Authenticated Users
- Editors
- Site Administrators
- Super Users

Only Site Administrators can add new users, groups, and group spaces to a portal. See User Permissions for more information on what each group of users can see and do.
Create a New Group
- Go to Site Setup and select Groups from the Users section.
- On the Groups overview page, click Add New Group (shown in the graphic above).
- On the Create a Group dialog box, enter the group Name and Title which can be the same. The Name is a unique identifier for the group and cannot be changed after creation, but the Title can be modified if necessary.
- Enter an optional Description of the group.
- Enter an optional Email address for the group.
- Click Save.
Add Users to a Group in Three Ways
Add Users from the Groups Overview
- Go to Site Setup and select Groups from the Users section.
- Click the Group to open the Current group members table for that group.
- Enter the partial or full name of the user/group in the Quick Search field and click Search, or click Show All to view all users/groups.
- Check the boxes of the users/groups to add to the group and click Add selected groups and users to this group.

Use the same Current group members table to remove users from a group. Check the boxes next to their names and click Remove selected Groups / Users. Removing a user from a group does not remove the user from the portal.
Add Users from the Users List
- Go to Site Setup and select Users from the Users section.
- Click the User to open the User Details page.
- Click the Group Memberships tab to open the Current group memberships table for that user.
- Check the box next to the group(s) to add the user to and click Add user to selected groups.

Use the same Current group memberships table to remove a user from groups. Check the boxes in the Remove column and click Remove from selected groups. Removing a user from a group does not remove the user from the portal.
Add Users at the Time of User Registration
Users can be assigned to groups at the time they are registered to a portal. At the bottom of the Add New User form is a list of groups to add the new user to. Upon clicking Register, the user is automatically a member of the selected groups and inherits those groups' permissions.

